
In the age of smart technology, securing your home doesn’t mean clunky wires and complex systems anymore. Wireless security cameras offer a sleek and user-friendly way to monitor your castle, and I’m here to guide you through every step.
With years of experience in home security tech, I’ve helped countless homeowners switch to wireless options for an up-to-date defense against intruders.
These nifty gadgets not only give you peace of mind but also provide flexibility in where you place them—no more constraints from cords! Ready for insights that will fortify your fortress? Keep reading to learn how easy it can be to safeguard what matters most.
Let’s dive into making your home a safer haven!
Key Takeaways
- Position wireless security cameras carefully to respect neighbors’ privacy and focus on your property’s entry points, like doors and windows.
- Use the proper tools, including a drill, screws, anchors, and mounting brackets, for a secure camera installation that withstands the elements.
- Ensure cameras have a reliable power source and network connection for continuous monitoring and remote access to real-time footage.
- Install cameras in strategic indoor locations where valuables are stored to monitor these areas effectively against intruders.
Camera Etiquette
When installing security cameras, respect privacy by positioning them away from neighboring properties and focusing solely on your home.
Consider privacy concerns
As you set up your wireless security cameras, think carefully about everyone’s privacy. It’s crucial to position your cameras in a way that protects not only your home but also respects the boundaries of those around you.
Make sure that the cameras focus on areas essential for your security, like entry points and places where valuables are kept.
Placing cameras haphazardly can lead to unintended surveillance of neighbor’s homes or public spaces, which may create tension or even legal issues. Aim to direct cameras at your own property and discuss your security plans with neighbors if there is any chance their privacy could be impacted.
This approach ensures peace of mind for everyone involved while maintaining a secure perimeter around your home.
Avoid pointing cameras at neighbors’ properties
Respecting privacy isn’t limited to the indoors; it also applies when setting up your outdoor security cameras. Make sure that your security cameras focus on monitoring your property only.
It’s tempting to angle a camera where it might catch a glimpse of the sidewalk or street, but ensure that it doesn’t capture areas solely belonging to neighbors. This not only builds trust within your community but also protects you from potential legal issues regarding privacy violations.
Be mindful while installing wireless home security systems and adjust any outdoor security cameras so their field of view is confined to the boundaries of your property. If there’s ever any doubt about whether a camera could be invasive, reposition it immediately for peace of mind and neighborly respect.
Your goal with video surveillance systems is safeguarding your home without encroaching on others’ right to privacy.
Where to Install Home Security Cameras
Position cameras at key entry points like front and back doors, ground-level windows, and any other potential access areas to monitor who comes and goes. Secure outdoor spaces such as the backyard or garden to keep an eye on your property’s perimeter, and don’t forget the driveway or garage for a comprehensive view of vehicle safety.
Inside, focus on rooms with valuables for additional peace of mind against intrusions.
Entry points (doors, windows)
Securing your home starts with protecting its most vulnerable points – doors and windows. Install wireless security cameras above these entryways to monitor who comes in and out. Ensure the cameras are mounted at a height that deters tampering but still captures clear footage of faces and activities.
Cameras facing doors should be positioned so they also get a view of any steps or paths leading up to them.
Windows on the ground level can be tempting access points for intruders, making it crucial to have eyes on them as well. Place cameras within view of these windows, angled to maximize coverage without infringing on privacy.
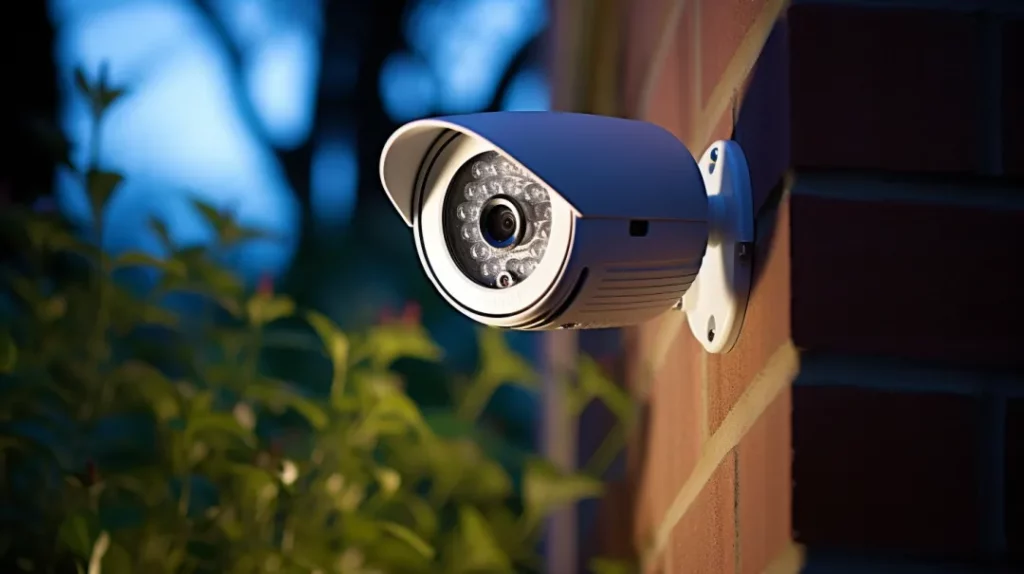
Opt for models with night vision capabilities to keep your home surveilled around the clock, deterring potential break-ins even in low light conditions.
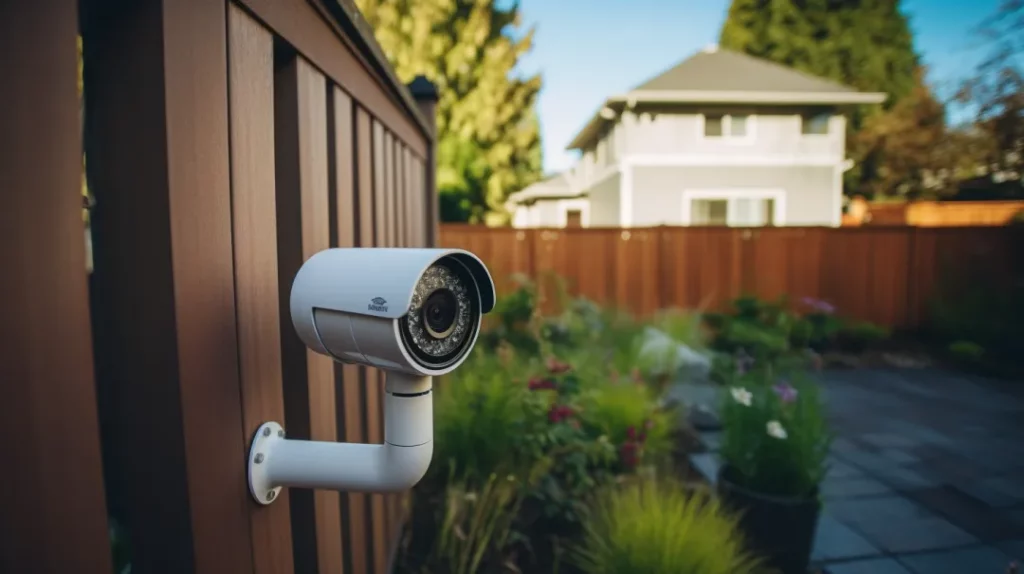
Backyard/garden
After securing your doors and windows with cameras, don’t overlook the importance of monitoring your backyard or garden. This area can be a less obvious entry point for intruders, so placing wireless security cameras here enhances overall home surveillance.
Install cameras high up to have a wide field of view and cover areas like sheds, fences, and back gates. Make sure they’re equipped with night vision to capture clear footage even in low light.
Strategically position cameras to avoid blind spots where someone could hide or escape detection. Wireless systems offer flexibility in placement without the hassle of running cables across your outdoor space.
Choose weather-resistant models that withstand rain and sun exposure while providing high-resolution video feeds day and night for peace of mind about what’s happening outside your home.
Driveway/parking area
Moving from the lush greenery of your backyard, securing the driveway or parking area is also crucial for a comprehensive home security system. Positioning cameras here helps monitor vehicles coming and going and can deter potential intruders.
You want to ensure that your camera has a clear view of the entire driveway without any obstructions like trees or decorations.
Place cameras high enough to have an expansive field of vision, ideally at least 9 feet off the ground, so they’re not easily tampered with. For those with gates, consider installing an additional camera that captures who enters and exits when the gate opens.
With a wireless setup, you’ll enjoy flexibility in positioning without worrying about running cables through your property. Just make sure each camera remains within range of your network connection so it maintains its surveillance capabilities around-the-clock.
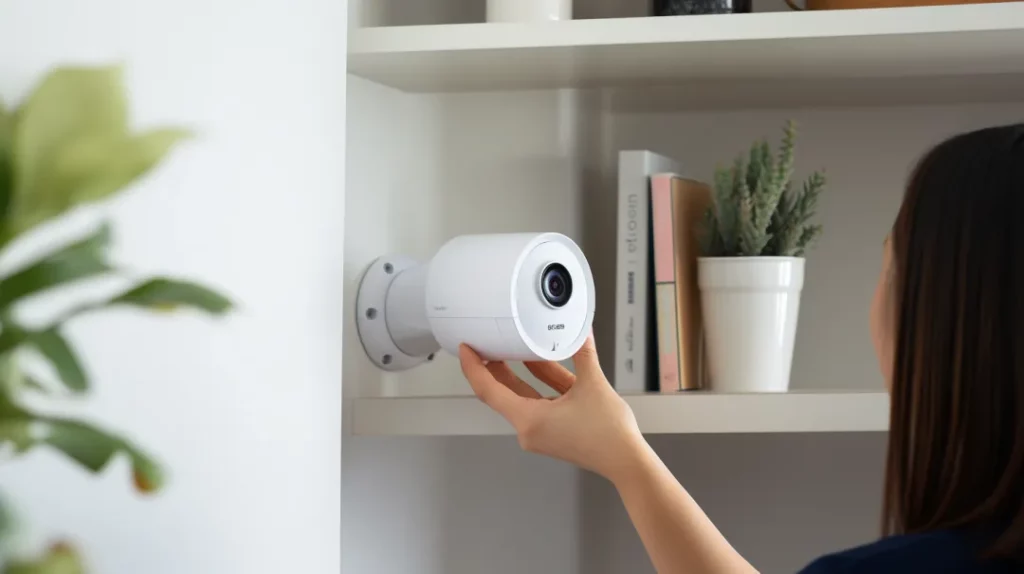
Indoor areas with valuables
Protecting your driveway and parking area can deter criminals from even approaching your home, but securing the inside is just as crucial. Focus on installing wireless security cameras in rooms where you keep your most valuable possessions.
Whether it’s a family heirloom, important documents, or high-end electronics, place cameras in these strategic spots to monitor any unexpected activity.
Ensure that each camera has a clear view of the room without obstructions. High resolution and wide field of view are essential features for indoor cameras to capture details accurately.
Consider areas like living rooms with entertainment systems, offices containing sensitive information, and bedrooms with jewelry or safes. Proper placement within these spaces maximizes your ability to keep an eye on valuables at all times.
Tools and Supplies Needed for Installation

Gather your drill, screws, mounting bracket, and ensure a power and network connection to start the installation of your wireless security cameras—more details ahead.
Drill
A drill is crucial for installing wireless security cameras efficiently. You’ll use it to make precise holes in walls, ceilings, or other surfaces where you plan to secure the mounting brackets.
Ensure your drill bit matches the size of screws and anchors included with your camera kit to provide a stable installation.
After drilling holes and placing anchors, you’re ready to move on to attaching the mounting bracket. This step sets the stage for a sturdy home surveillance system that keeps your property under watchful eyes without interruption.
Now grab those screws and let’s fasten everything securely in place.
Screws and anchors
As you set aside the drill, it’s time to focus on screws and anchors, which are crucial for secure camera installation. You’ll need sturdy screws and reliable anchors to ensure that your security cameras stay in place.
Anchors are particularly important if you’re attaching your camera to drywall or other surfaces that might not hold weight well without them. They expand behind the surface, providing a firm grip for the screws so that your cameras will be mounted securely.
Properly using screws and anchors can mean the difference between a stable surveillance system and one prone to shifting or damage. Opt for weather-resistant types if mounting outdoor security cameras; this prevents rusting or weakening over time due to exposure to elements like rain or snow.
Make sure they’re tight enough so your camera doesn’t move but avoid overtightening as this could strip the holes making them useless.
Mounting bracket
Choosing the right mounting bracket is crucial for a secure installation of your wireless security cameras. Ensure that the bracket you select matches your camera model and can support its weight.
It should be made of sturdy materials, capable of withstanding weather conditions if it’s for outdoor use. Attach the bracket firmly to a solid surface using the screws and anchors provided.
Drill holes carefully where you’ve marked them, keeping the camera’s field of view and position in mind.
Once the mounting bracket is securely in place, attach your camera snugly to prevent any movement or shaking that could disrupt your video feed. Adjustments might be needed after you check the camera’s live view; this ensures optimal coverage and surveillance angles before moving on to connecting power sources and network connections.
Next up: ensuring a steady power supply for uninterrupted monitoring.
Power source
Keeping your wireless security cameras powered is crucial. You might opt for battery-operated cameras, which offer flexibility and ease of installation since there’s no need to run power cables.
Just make sure you check the battery levels regularly or consider models with rechargeable batteries to reduce waste and save money in the long run.
For those who don’t want the hassle of changing batteries, there are options that use a power adapter connected to a nearby outlet. Ensure the outlet is within reach and protected from weather if it’s outdoors.
This setup provides continuous operation without interruption, making it ideal for round-the-clock monitoring of your home surveillance system. Next up: ensuring your network connection is stable and secure.
Network connection
Once you’ve established your power source, it’s time to focus on your network connection. This step is crucial for enabling remote viewing and notifications from your wireless security cameras.
Make sure the camera’s location has a strong Wi-Fi signal or wired internet access. You can use tools like a Wi-Fi range extender if you find dead spots in areas where you plan to install a camera.
Configuring the network settings of your wireless home security system is key for seamless video surveillance. Follow manufacturer instructions to sync each camera with your home’s Wi-Fi network or through an Ethernet cable connection for more stability.
This will ensure that when motion activation triggers the camera, it captures high-resolution footage without delay and sends alerts directly to your device, keeping you informed no matter where you are.
Video Guide: Installing Any Security Camera in 3 Steps
Watch our simple video guide on installing any wireless security camera in just three steps, where we walk you through charging the device, downloading the necessary app and syncing it with your camera seamlessly.
Ready to transform your home security? Dive into our comprehensive homeowner’s guide for all the details!
Charge the camera
Before diving into the installation process, make sure your wireless cameras have a full charge. This step is crucial because it helps you avoid interruptions once you begin syncing your devices with your security system.
Most wireless security cameras use rechargeable batteries or come with a charging cable that can be plugged into any standard outlet. Give them ample time to juice up so they won’t power down right as you’re getting everything set.
Plug in each camera and keep an eye on the indicator light; it usually turns green or blinks when fully charged. Charging times may vary from model to model, so consult the user manual for specifics to ensure your home surveillance equipment is prepared for action without any hiccups.
Fully powering up these devices ensures that during installation, testing, and tweaking settings later on, you don’t get cut off unexpectedly due to low battery life.
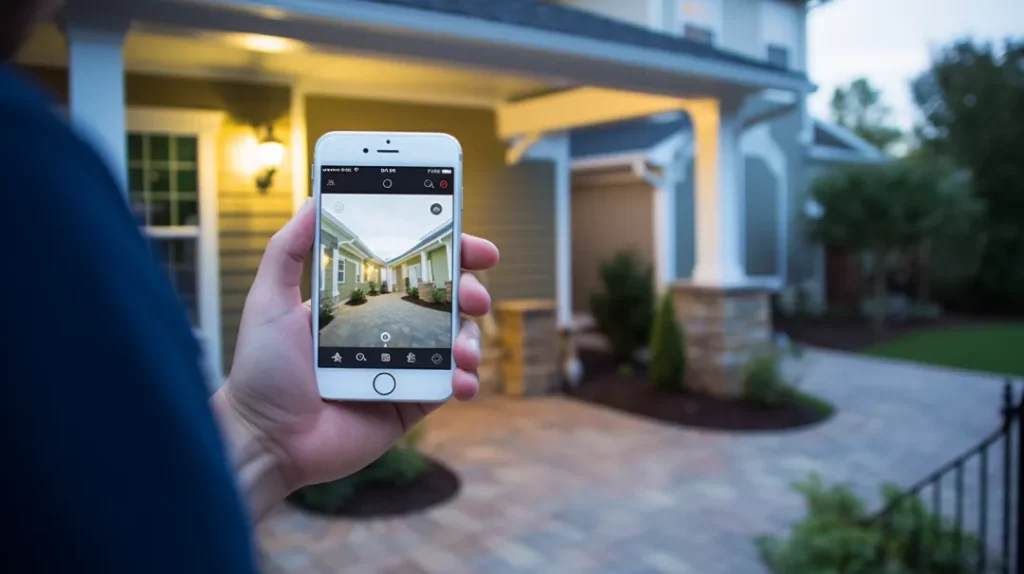
Download the app
Once your wireless security camera is fully charged, it’s time to install its companion app onto your smartphone or tablet. This step is essential for the setup and functionality of your home surveillance system.
Start by finding the app in the App Store or Google Play; just search for the brand name of your camera. After downloading, open the app and create an account. You’ll usually need to provide an email address and create a password.
Next, follow the on-screen instructions to sync your security camera with the mobile app. This process typically involves scanning a QR code found on your camera or entering its serial number manually into the app.
Once connected, you’ll be able to view live footage from anywhere, adjust settings, receive security alerts and manage data storage options right from your device. Now that you have complete control over your home security monitoring through this handy application, let’s connect it to see what those cameras can do!
Connect the app to the camera
To connect the app to your security camera, start by ensuring that both the camera and your smartphone are connected to your home Wi-Fi network. Open the camera’s app on your phone, which you would have downloaded earlier.
Look for a ‘device’ or ‘camera’ option within the app; this will typically initiate a search for nearby cameras. Once it finds your camera, select it from the list and wait for them to sync up.
This process usually involves scanning a QR code found on the camera itself or entering a specific serial number provided with its documentation. Follow any additional in-app instructions carefully—this might include naming your camera (such as ‘front door’ or ‘backyard’) and setting up various preferences and features like motion activation or night vision according to what suits best for your home surveillance needs.
With these steps complete, you’re ready to move on to preparing for installation by planning where each of these wireless sentinels will stand guard over your domain.
Preparing for Installation
Before you mount your new security cameras, it’s critical to properly plan their placement to cover key areas, ensure power and network connections are available, and confirm the camera’s functionality through preliminary testing.
Plan camera placement
Mapping out where to install your wireless security cameras is a critical step. Consider the key spots around your home that need monitoring, such as entry points like doors and windows, areas with valuables, and any outdoor zones you want to keep an eye on.
Aim for clear views without obstructions. Think about installing cameras at higher vantage points to maximize coverage and deter tampering.
Select locations that not only give you the best surveillance angles but also ensure your camera has a strong network connection. This will maintain consistent video streaming and recording capabilities.
Keep in mind motion activation features; strategic placement can enhance your camera’s ability to detect movement quickly and accurately. Always adhere to privacy laws by positioning cameras away from neighbor’s windows or private spaces – security should never compromise respect for others’ privacy.
Setup power and network connections
Powering your wireless security cameras is a crucial step that ensures they stay operational day and night. Most cameras come with an adapter that you plug into a nearby electrical outlet.
It’s essential to have an outlet close enough so cords don’t stretch across rooms, creating trip hazards or unsightly views. For outdoor installations, consider using weatherproof electrical boxes to protect connections from the elements.
Networking is just as important for keeping your cameras connected to your home system. Wireless cameras connect via WiFi, so ensure your home network’s signal reaches the camera locations reliably.
If signal strength is weak in certain areas, think about using a WiFi extender or mesh network for improved coverage. Once powered and connected, you’ll be ready to test how well the cameras work before moving on to securing them in place permanently.
Test camera functionality
Once you’ve established power and network connections for your wireless security cameras, the next step is crucial: testing their functionality. Power on each camera to ensure they turn on correctly.
Verify that the video feed is clear and stable by viewing it through the dedicated app or monitoring software. Check for any signs of lag or interruption in the video stream, which could indicate issues with your network connection.
Next, examine the quality of both daylight and night vision modes to confirm that images are sharp and recognition of faces or details is possible at various distances. Test motion detection features to see if they trigger alerts as expected when someone approaches an entry point or a designated indoor area with valuables.
This will help ensure that your home surveillance system responds promptly in real-life scenarios, keeping your property secure around-the-clock.
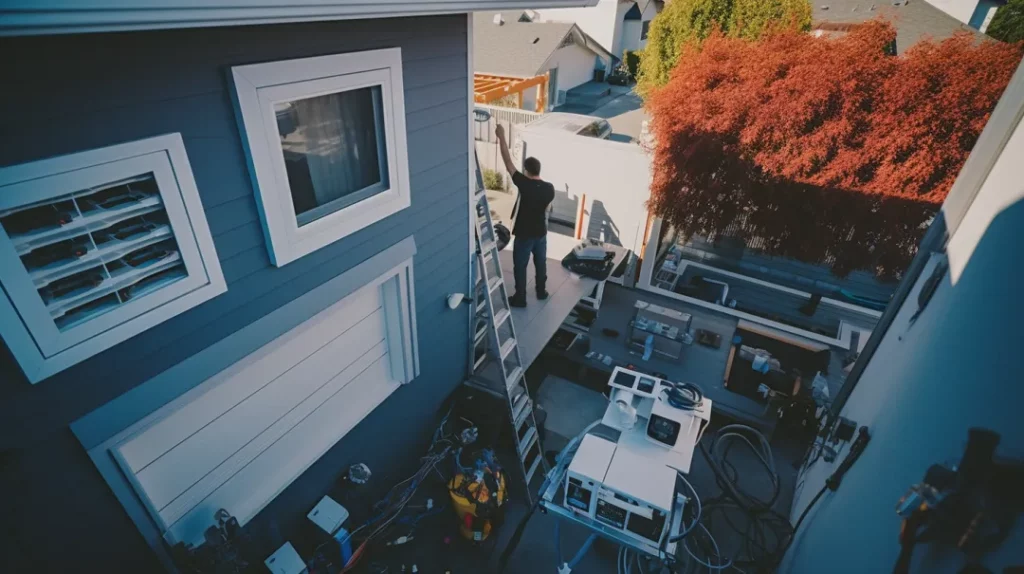
Mounting the Camera
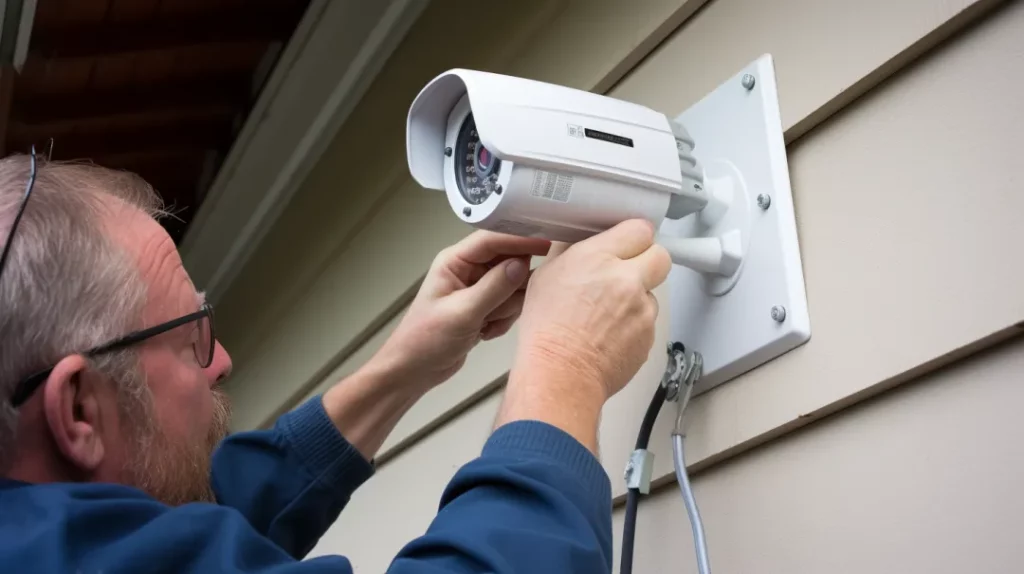
Choose your desired spot, mark the drill points accurately, secure the mount firmly to the surface, and then attach your camera with confidence.
Choose the right location
Selecting the perfect spot for your wireless security camera is critical. Aim for a place that gives a clear view of the area you want to monitor, such as entry points, driveways, or rooms with valuables.
Ensure the location provides an unobstructed field of view and is out of reach to prevent tampering. Cameras placed too low might invite vandals; however, too high and you may not capture details like faces.
Optimal placement also involves considering camera features like motion activation and night vision. A position that maximizes these benefits allows your surveillance system to function at its best day or night.
Securing your camera in a well-thought-out location can significantly enhance your home’s security monitoring effectiveness.
Mark holes for mounting
Place the mounting bracket against the wall where you want your camera to watch over your home. Use a pencil or marker to carefully mark the exact spots where the screws will go. Make sure these marks are level and positioned correctly for optimal camera coverage.
Next, take a drill and create holes at each mark you’ve made. Be mindful of drilling to the appropriate depth – your security system should have come with anchors that fit perfectly into these spaces.
Once done, it’s time to move on to securely installing the mount and attaching your wireless security camera.
Install the mount and attach the camera
To install the mount for your wireless security camera, first ensure you’ve picked a spot that gives you a good view of the area you want to monitor. Hold the mounting bracket against the wall and use a pencil to mark where your screws will go.
Grab your drill, align it with the marks, and carefully make holes for each screw. If your walls are made of drywall or another soft material, insert anchors into these holes to provide extra support.
Next up is securing the bracket in place by driving screws into these anchors or directly into your marked spots on tougher surfaces like wood or brick. Once this base is firmly installed, it’s time to attach your wireless camera snugly onto its newly fixed mount.
Make sure all connections are tight so that wind or small bumps won’t dislodge it. Rotate and angle the camera until it covers your targeted area perfectly; then lock it down in position.
Now that everything’s set up outside (or inside), adjusting the angle for optimal coverage is next – ensuring every corner is within sight for utmost home security monitoring.
Adjusting the Camera

Adjusting the Camera: Once mounted, angle your camera for optimal coverage; tighten to secure and dive into settings for final tweaks. Get the full details on ensuring a flawless view by reading further.
Ensure a perfect view
Position the camera to maximize your home’s security by covering critical areas without any obstructions. Clear away branches, trim bushes, and consider the angle of the sun throughout the day to avoid glare on your surveillance footage.
Properly aligning your wireless cameras ensures a wide field of view, capturing more of your property with less dead space.
Tweak camera angles for optimal coverage and ensure it’s snug against its mount; this prevents shifting that could disrupt visibility. Test different times of day to see how lighting conditions affect clarity.
Night vision capabilities are essential for 24/7 monitoring, so check that nighttime images are crisp and recognizable. Adjust settings if needed to maintain high-resolution video surveillance around the clock, keeping your home secure at all hours.
Tighten the mount
Once the camera is correctly positioned, it’s time to secure the mount firmly. Use a screwdriver to tighten each screw until the mount feels snug against your chosen surface. Be careful not to over-tighten as this could damage both the mount and the surface.
A stable mount ensures that your security camera stays put and captures clear footage.
Keep checking while you tighten to make sure that the angle of the camera hasn’t shifted. It’s crucial that your wireless security cameras maintain their directed field of view for optimal home surveillance.
A well-secured camera not only stands up better to everyday bumps but also deters potential tampering or adjustments by an outsider.
Finalize camera settings
Once your wireless camera is securely mounted and positioned, take the time to tweak the settings for optimal performance. Dive into the camera’s menu to adjust motion sensitivity, ensuring it captures movement without being triggered by every passing car or tree branch in view.
Set up alerts to notify you of any activity within the camera’s field of view; this can be a text message, email, or app notification based on your preferences.
Next, optimize video quality settings according to available bandwidth – high resolution delivers clearer images but may require more data. Check how your night vision operates and confirm that you have a clear picture even in total darkness.
If your camera has audio features, test them out as well by having someone speak near the camera while you listen through the app. This careful fine-tuning guarantees that your home surveillance system works exactly as needed, keeping an eye on what matters most with precision and reliability.
Two-Factor Authentication
Enable two-factor authentication to add a robust layer of security to your camera system, safeguarding against unauthorized access and potential hacking threats.
Enable for extra security
Turning on two-factor authentication adds an extra layer of defense to your wireless security camera system. This feature requires a second form of verification, such as a code sent to your phone or email, before giving access to the camera’s feed.
It makes sure that even if someone cracks your password, they still can’t peek into your home without that additional code.
Securing your home with wireless cameras now includes safeguarding the data these devices capture. Two-factor authentication is a powerful tool in preventing unauthorized access to your security footage.
Make it a habit to utilize this function for peace of mind and enhanced protection against potential intruders trying to bypass digital defenses.
Conclusion
Embrace the peace of mind that comes with installing wireless security cameras in your home. These devices empower you to monitor your property, providing a front-row seat to safety from any location.
With the right tools and some planning, setting up your surveillance system can be straightforward and rewarding. Remember, a secure home deters potential intruders while keeping an eye on what matters most.
Take this guide as your first step toward enhancing your household’s security fortress. Let every homeowner take charge – it’s time to invest in protection that watches over our loved ones around the clock!
Jefferson Security Cameras provides reliable wireless surveillance systems tailored to safeguard what matters most – your home and loved ones. Our expert team handles everything from planning optimized camera placement to full installation and configuration, using top-quality equipment designed for seamless monitoring and deterring intruders. Contact us today to schedule a free consultation and take the first step toward total peace of mind with a customized home security fortress. Our operators are standing by at (267) 662-1457 to help you embrace round-the-clock protection that keeps watch over your property’s every corner.
FAQs
Where should I mount outdoor security cameras for best coverage?
Mount outdoor security cameras high up on walls or eaves to give them a wide field of view. Ensure they are angled to cover key areas like entryways, gates, driveways, and yards without pointing at neighbors’ properties. Choose weatherproof models and mounting hardware.
What tools do I need to install wireless security cameras?
You’ll need basic tools like a drill, screws, anchors, and mounting brackets. Ensure you have the right drill bit size, screws that fit the brackets, and anchors suited for your mounting surface. You’ll also need a stable WiFi connection and power outlet near each camera.
Should I enable two-factor authentication for extra security?
Yes, two-factor authentication adds an extra layer of security by requiring a secondary code to access your camera’s video feed. This prevents unauthorized access even if someone guesses your password correctly. It’s highly recommended to enable this feature.
How can I ensure optimal night vision performance?
Check the camera’s night vision capabilities and image quality in low light during initial testing. Adjust settings as needed to maintain crisp, high-resolution footage overnight. Position cameras to minimize glare from exterior lighting that could negatively impact visibility.
What maintenance is required for wireless security cameras?
Periodically check camera mounting brackets and connections to ensure stability. Tighten screws if any loosening occurs over time. Clean camera lenses gently to keep video feed clear. Check WiFi signal strength and router firmware for optimal connectivity. Replace batteries in battery-powered models when low.


